All in One SEO (AIOSEO) is a WordPress SEO plugin and toolkit that has been around since 2007. Website owners use AIOSEO to help their websites rank higher in SERPs.
AIOSEO main features include:
- Local SEO
- WooCommerce SEO
- SEO Optimizer
- Advanced SEO Modules
- Smart Sitemaps
- Rich Snippets (Schema)
- Social Media Integration
- SEO Audit Checklist
- Link Assistant
AIOSEO allows website owners to bypass SEO specialists and implement SEO on their own, without hiring an expert. However, AIOSEO can be used by solopreneurs, SEO specialists, and marketing professionals alike.
AIOSEO promises an easy and powerful tool that helps improve website ranking, and it's already trusted by over 3 million website owners.
Benefits of AIOSEO-Semrush Integration
Coupled with Semrush, AIOSEO is even more powerful. Users now have the capability to assign Focus Keywords directly on a page or post using Semrush keyword data.
As one of the top-rated plugins used on over 19 million websites, there are also multiple benefits to using AIOSEO-Semrush integrations, such as:
- Setting up SEO without the help of an expert
- Optimizing SEO for your pages in a few clicks
- Compatibility with your other favorite tools (e.g., Google, Bing, Yandex, and Baidu webmaster tools)
- Local and WooCommerce SEO support
- Solid customer support
Combined, these benefits make implementing SEO much easier for website owners, SEO specialists, and marketing professionals.
How To Integrate AIOSEO with Semrush
Before we get started, note that by using the integration, you’ll find that you can do more than just add a target keyphrase.
In the AIOSEO settings of the page or post you are working on, you’ll have the ability to make more advanced SEO edits to the social, schema, and link assistant features for that specific page.
Step 1: Installing the AIOSEO Plugin
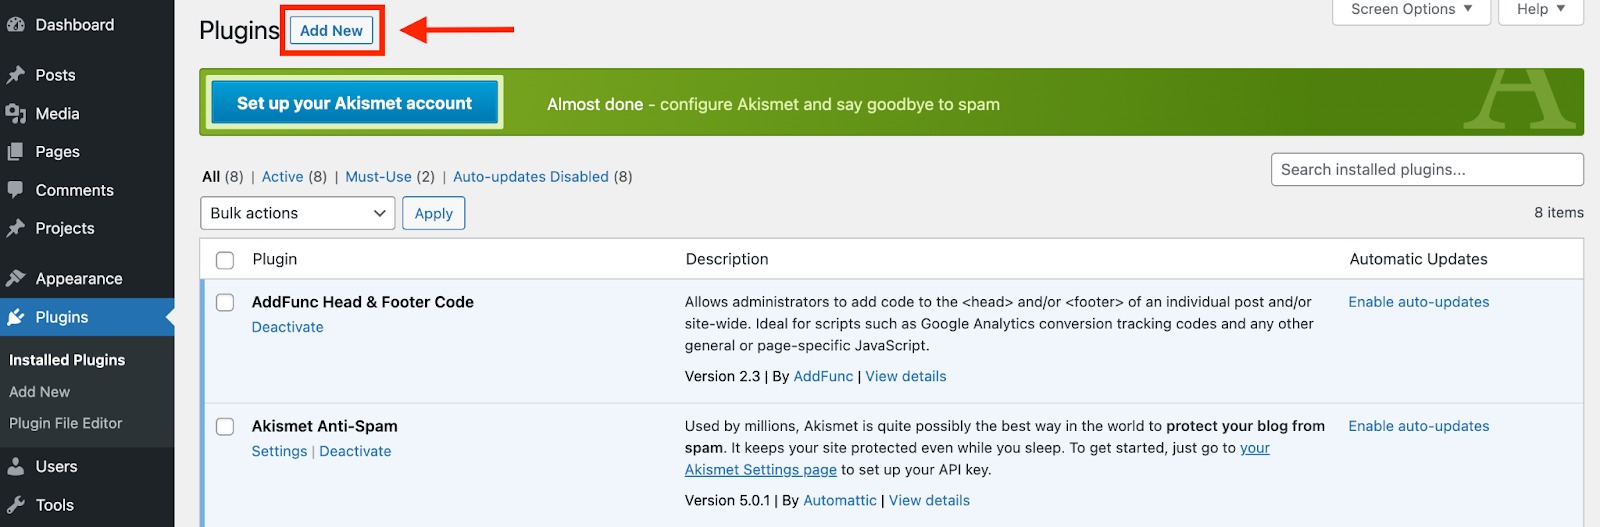
Start by navigating to the Plugins tab on the left sidebar in WordPress.
Click on “Add New” on the plugin page.
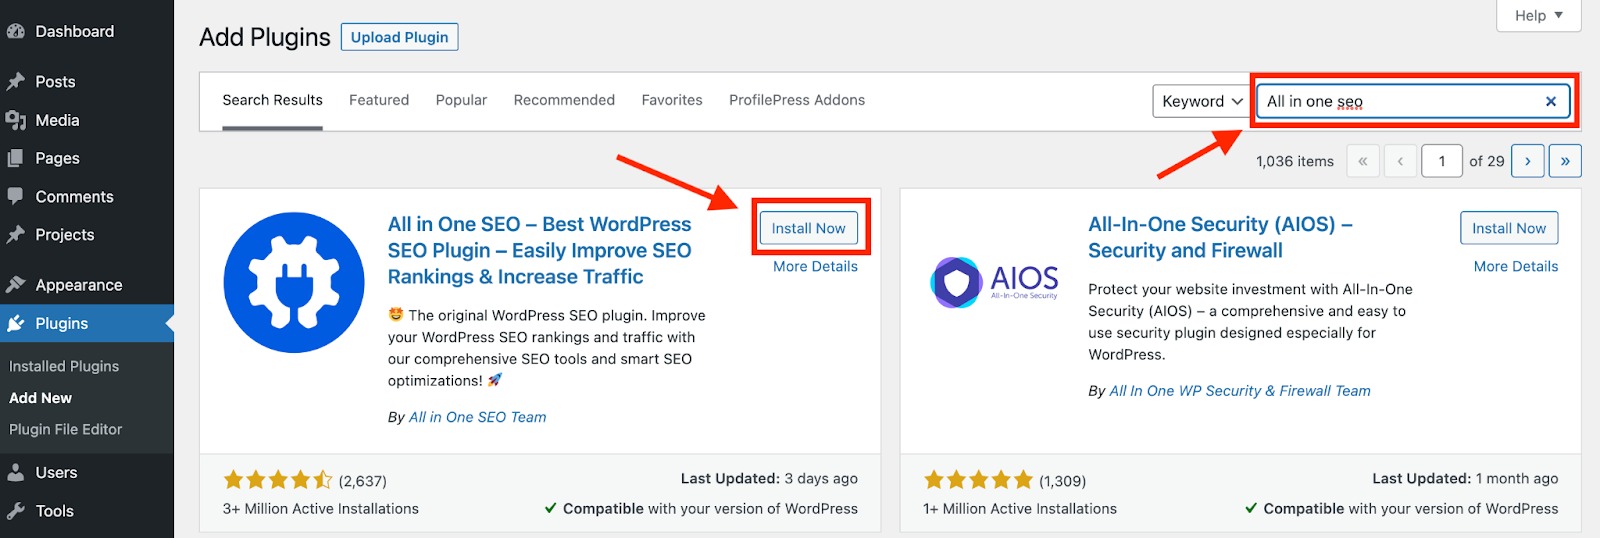
From here, search for the AIOSEO plugin and click to “Install” and “Activate.”
Step 2: Setting Up AIOSEO
After AIOSEO has been activated, you’ll be taken to the AIOSEO Setup Wizard page.
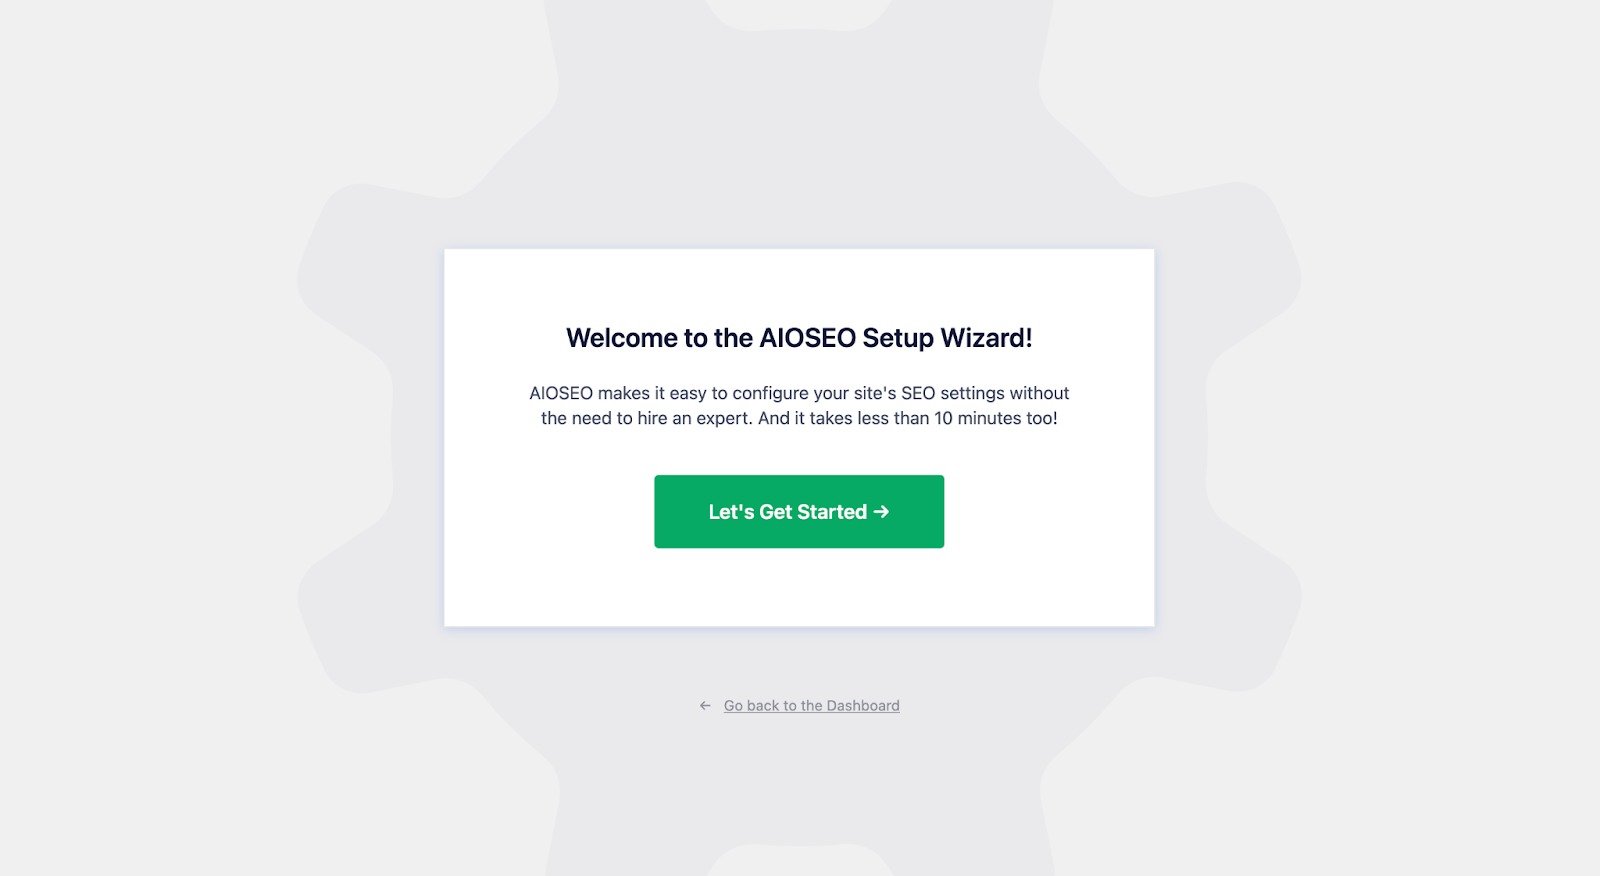
There are seven steps to setting up AIOSEO, starting with importing any previous SEO work you did with other SEO tools.

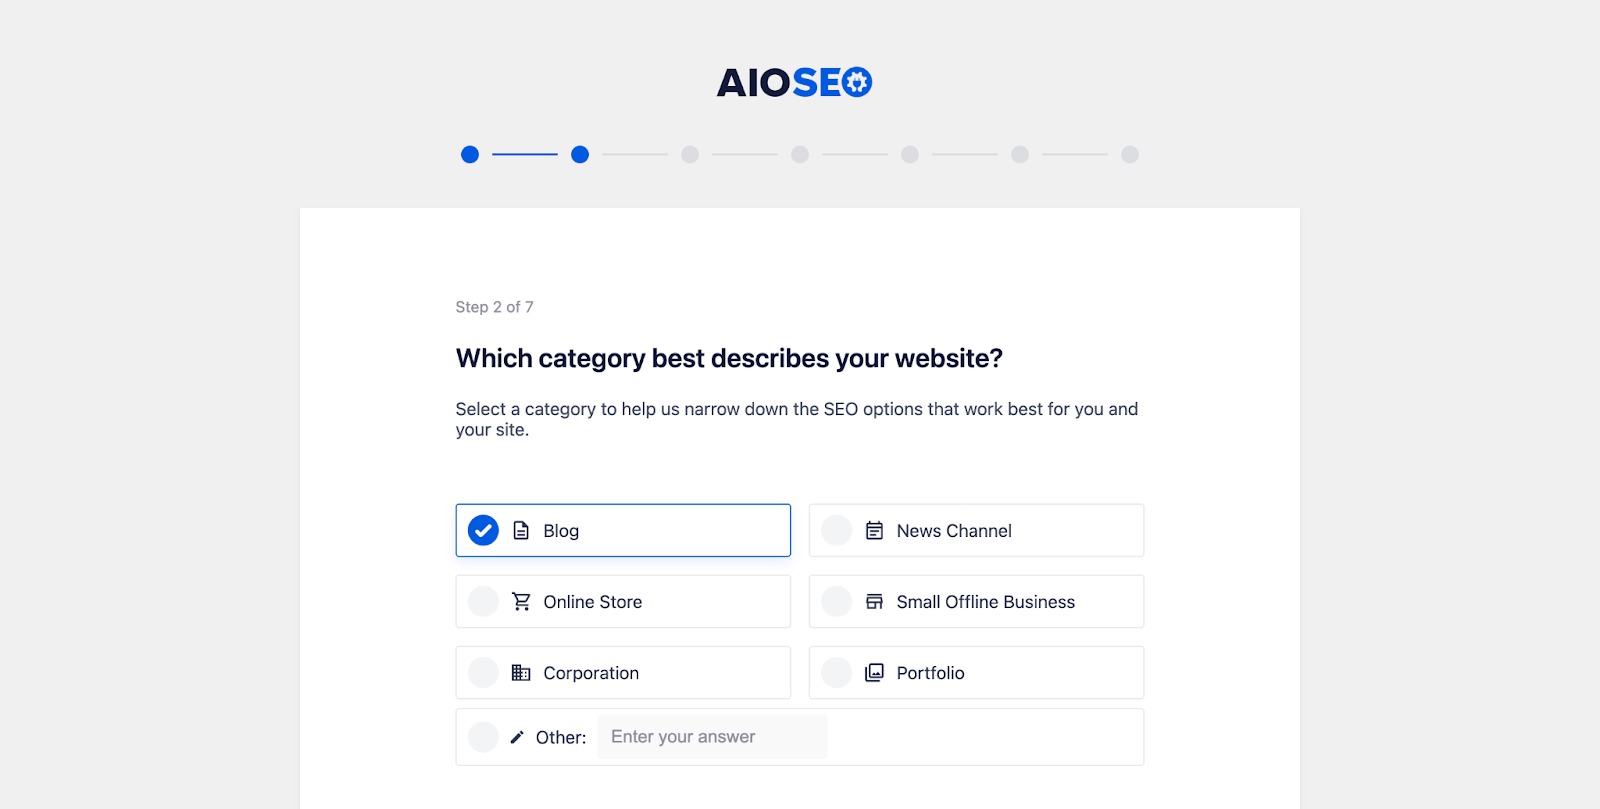
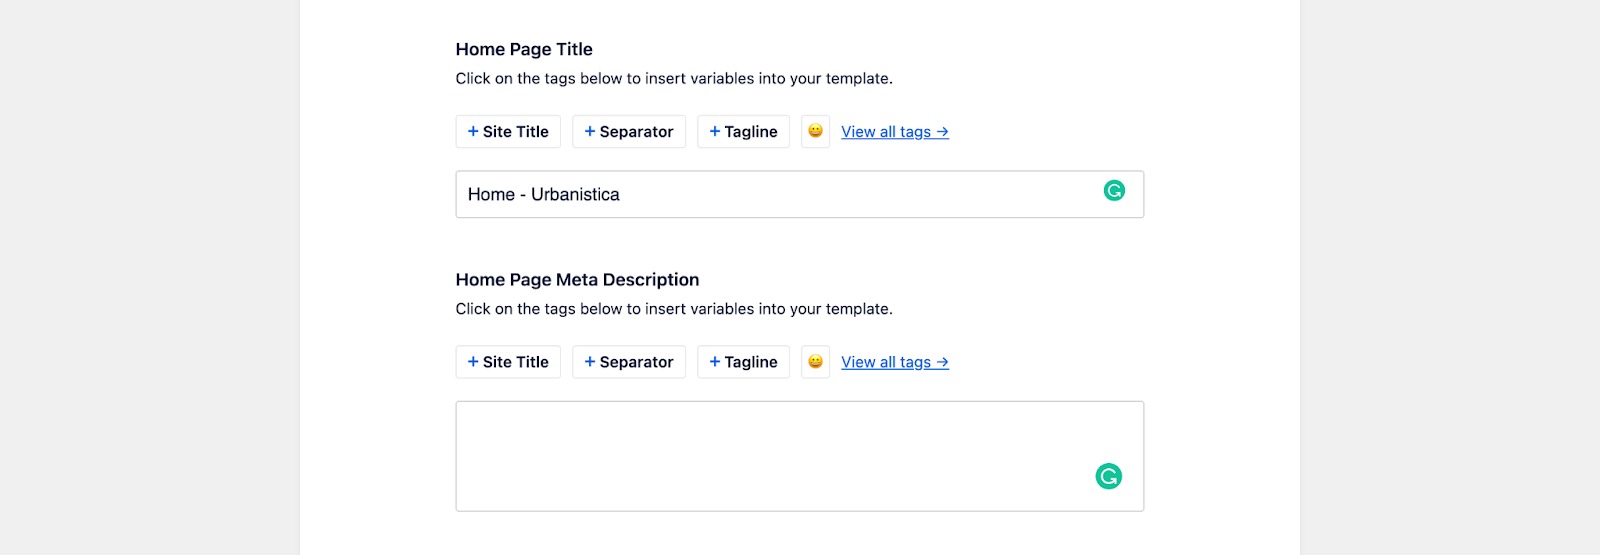
Next, the wizard will ask you to describe your website. This will include choosing the primary purpose of your website and writing a home page title and meta description.
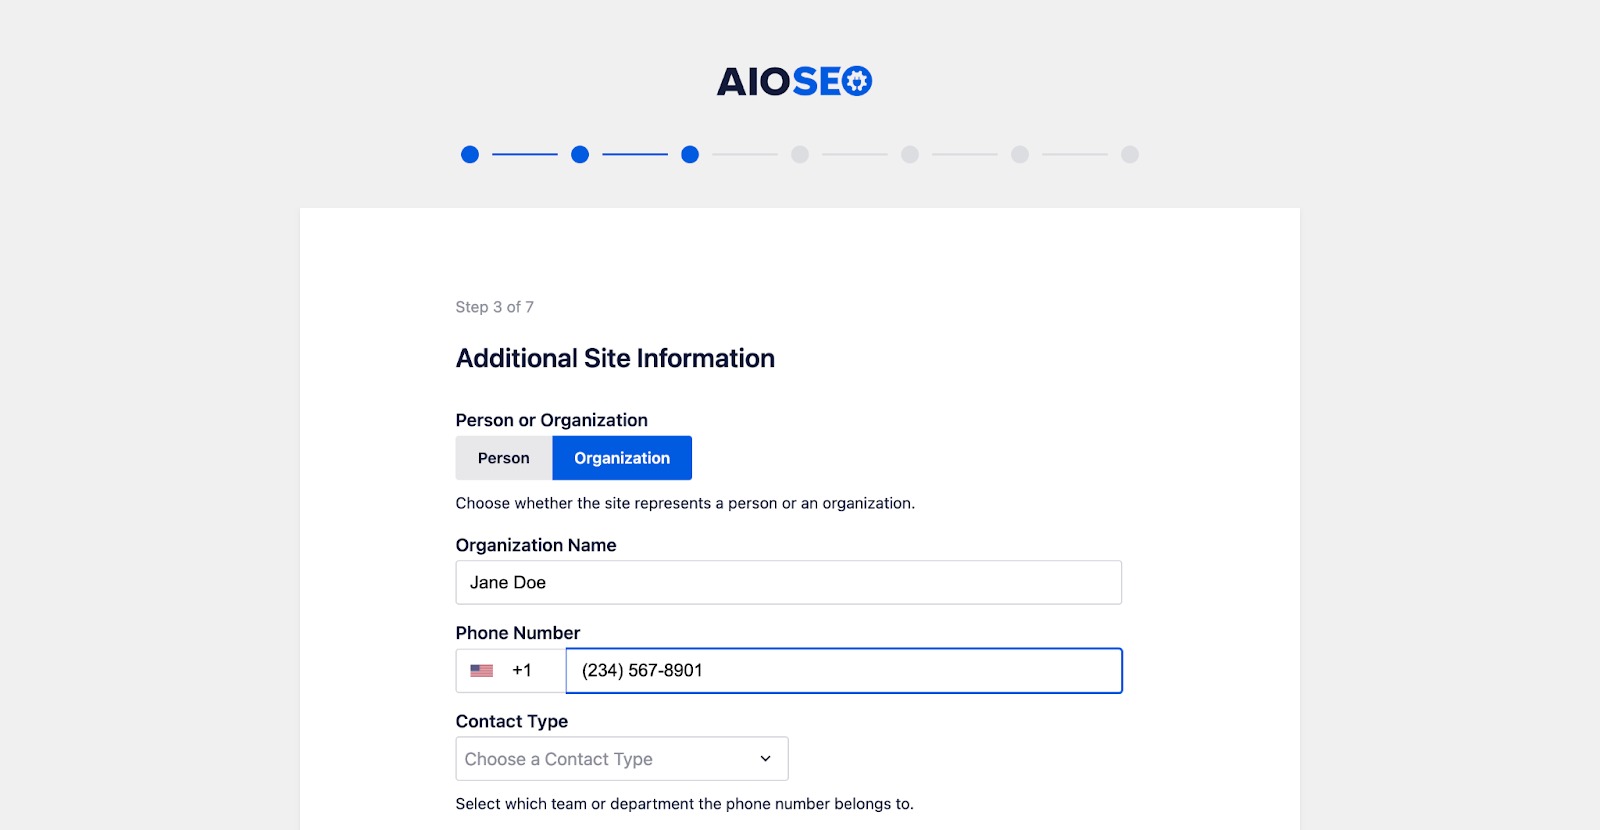
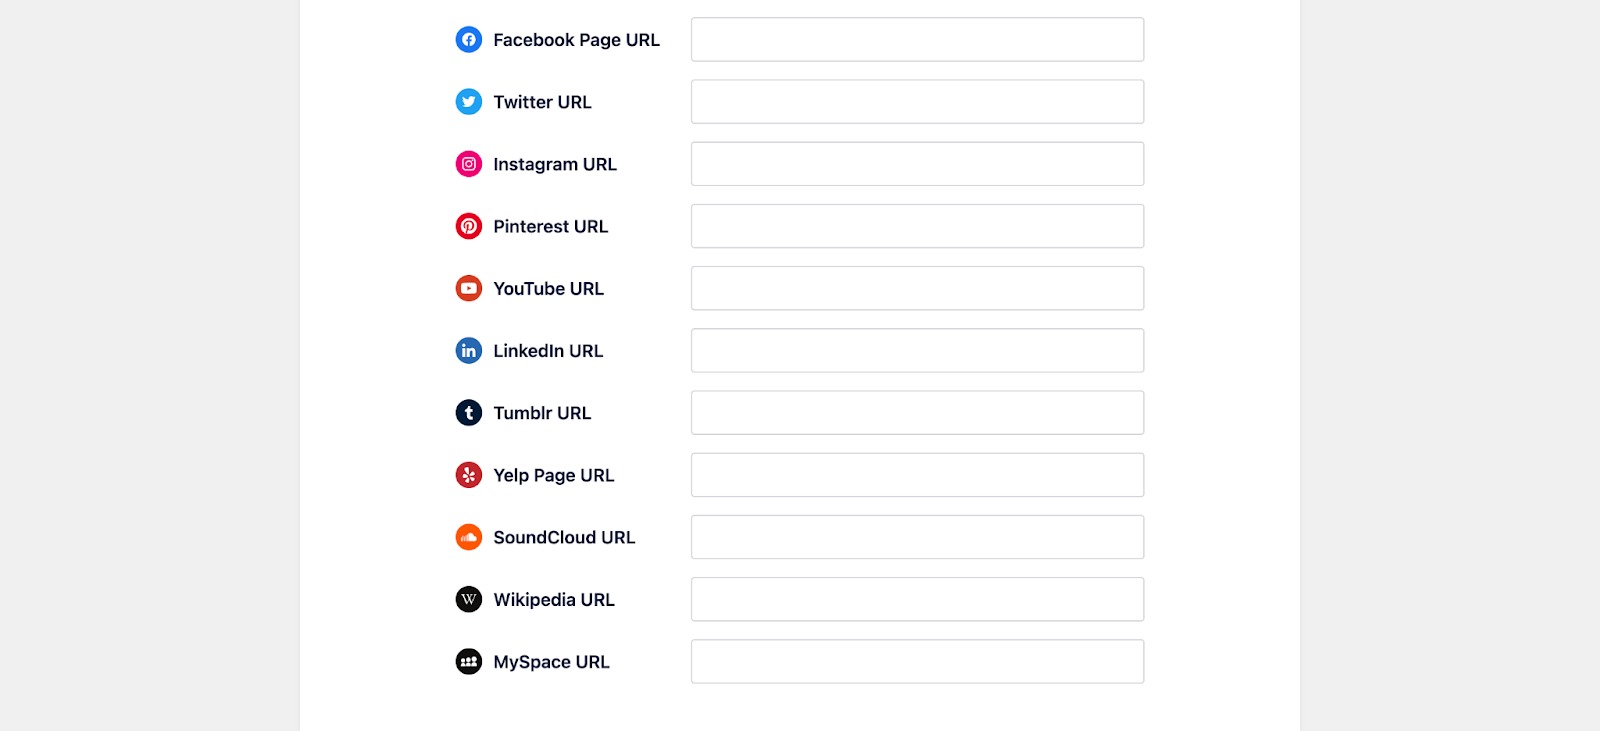
Insert additional information about your website, including business information, logos, and social media channels.

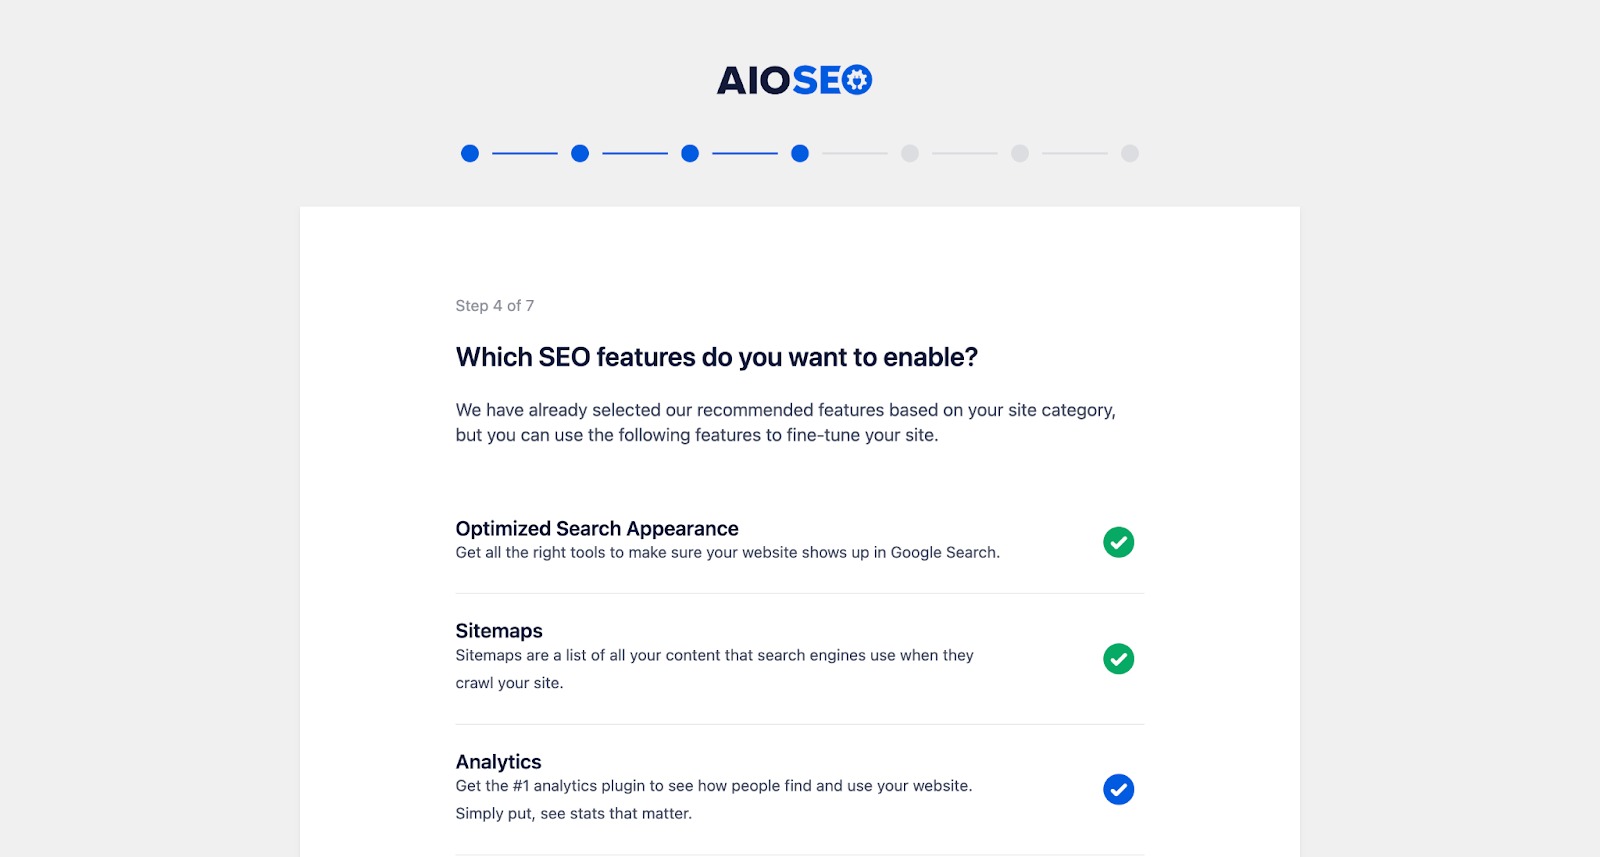
Next, choose which SEO features you would like to enable.
You’ll then move along to the next page to see a preview of your search results in search engines.
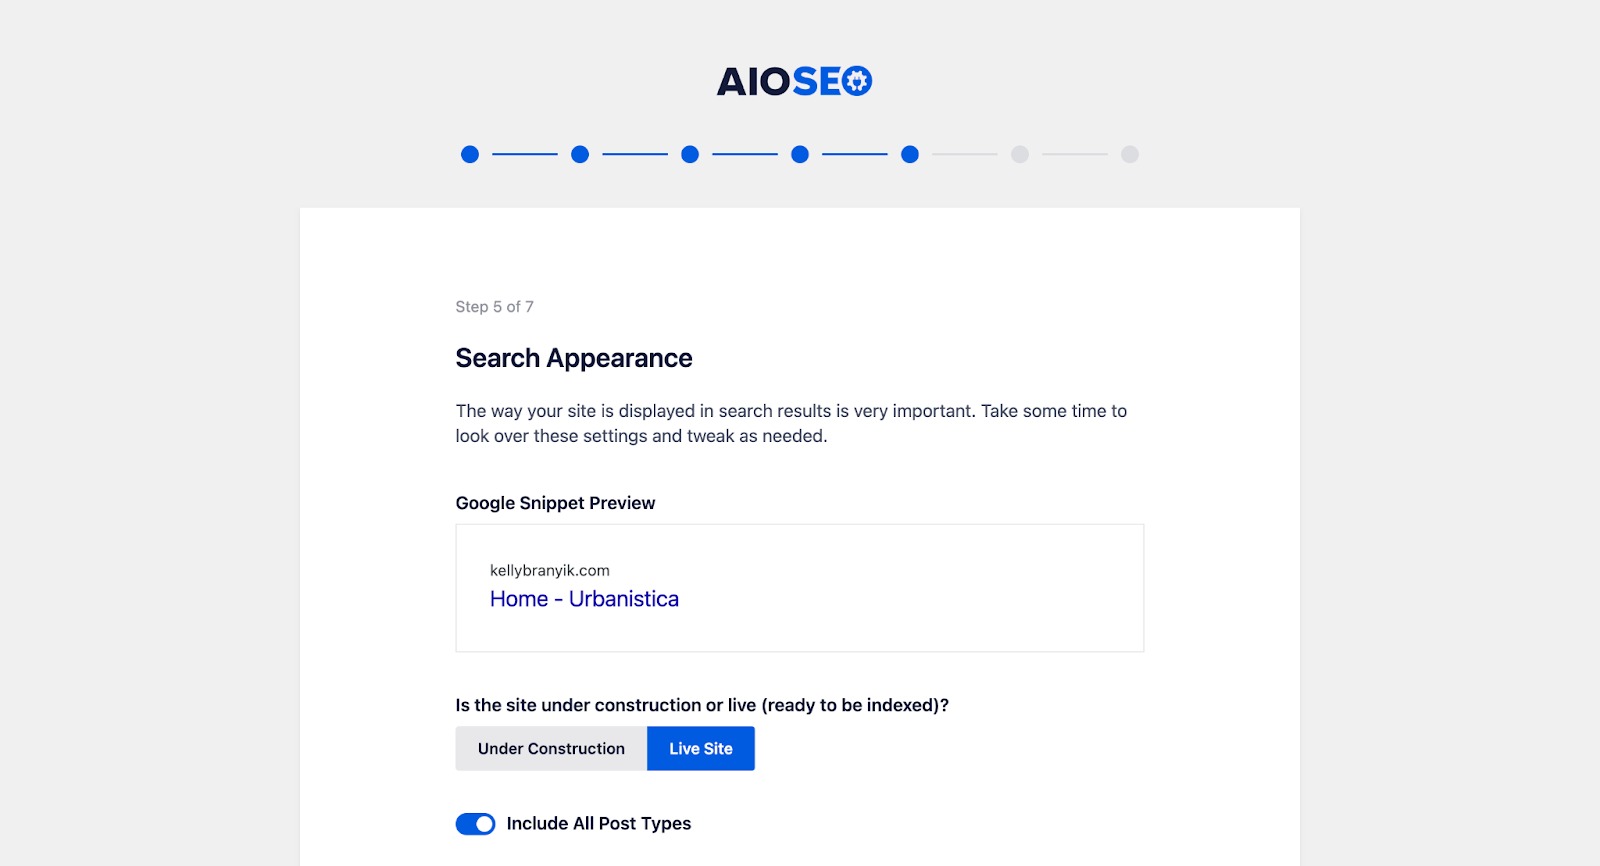
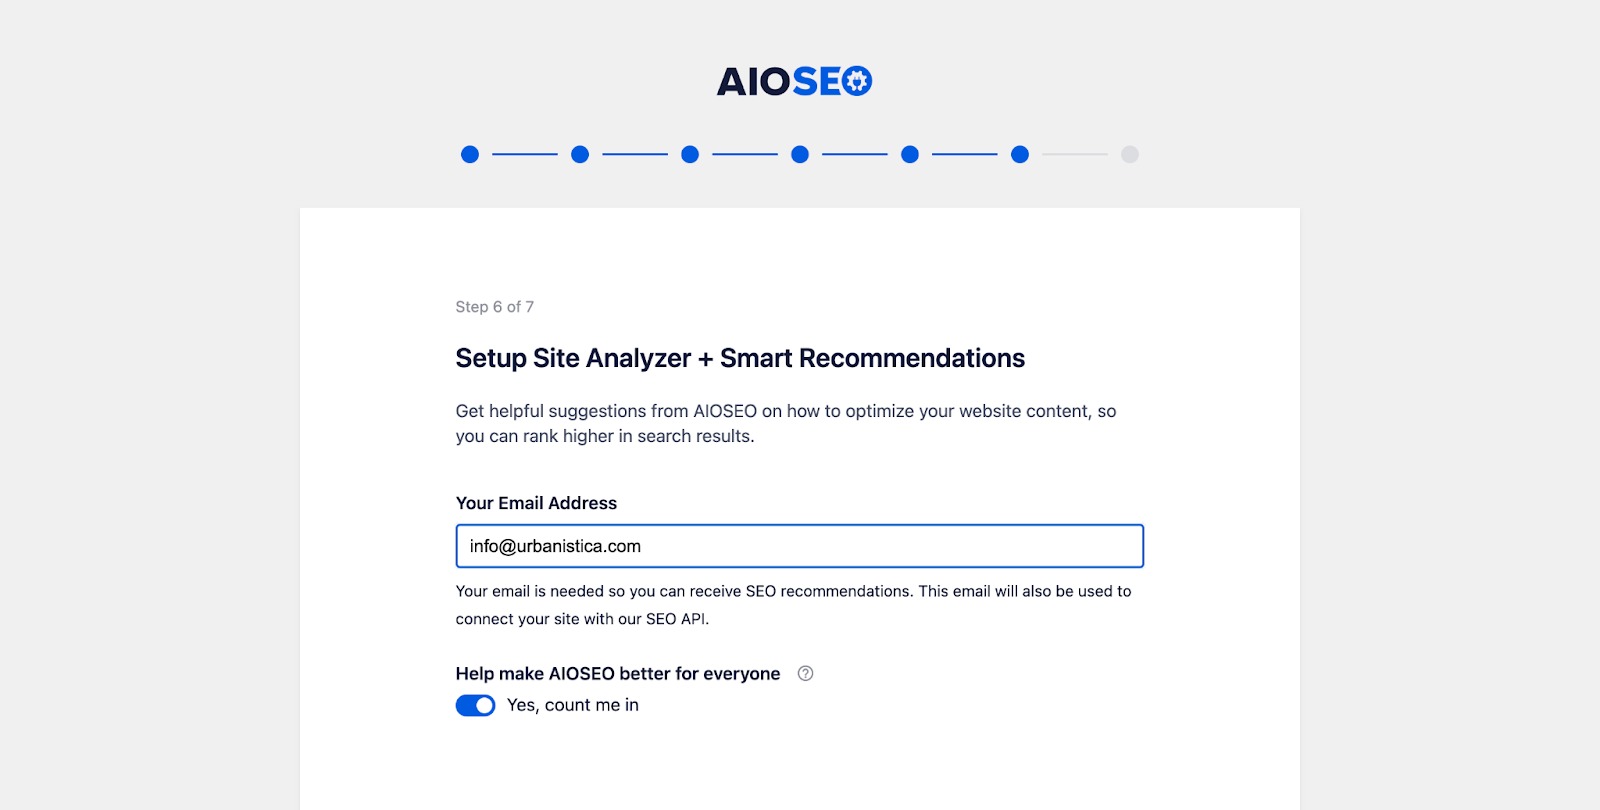
After seeing your preview, move to the next page, where you can opt-in to receive helpful suggestions for optimizing your site.
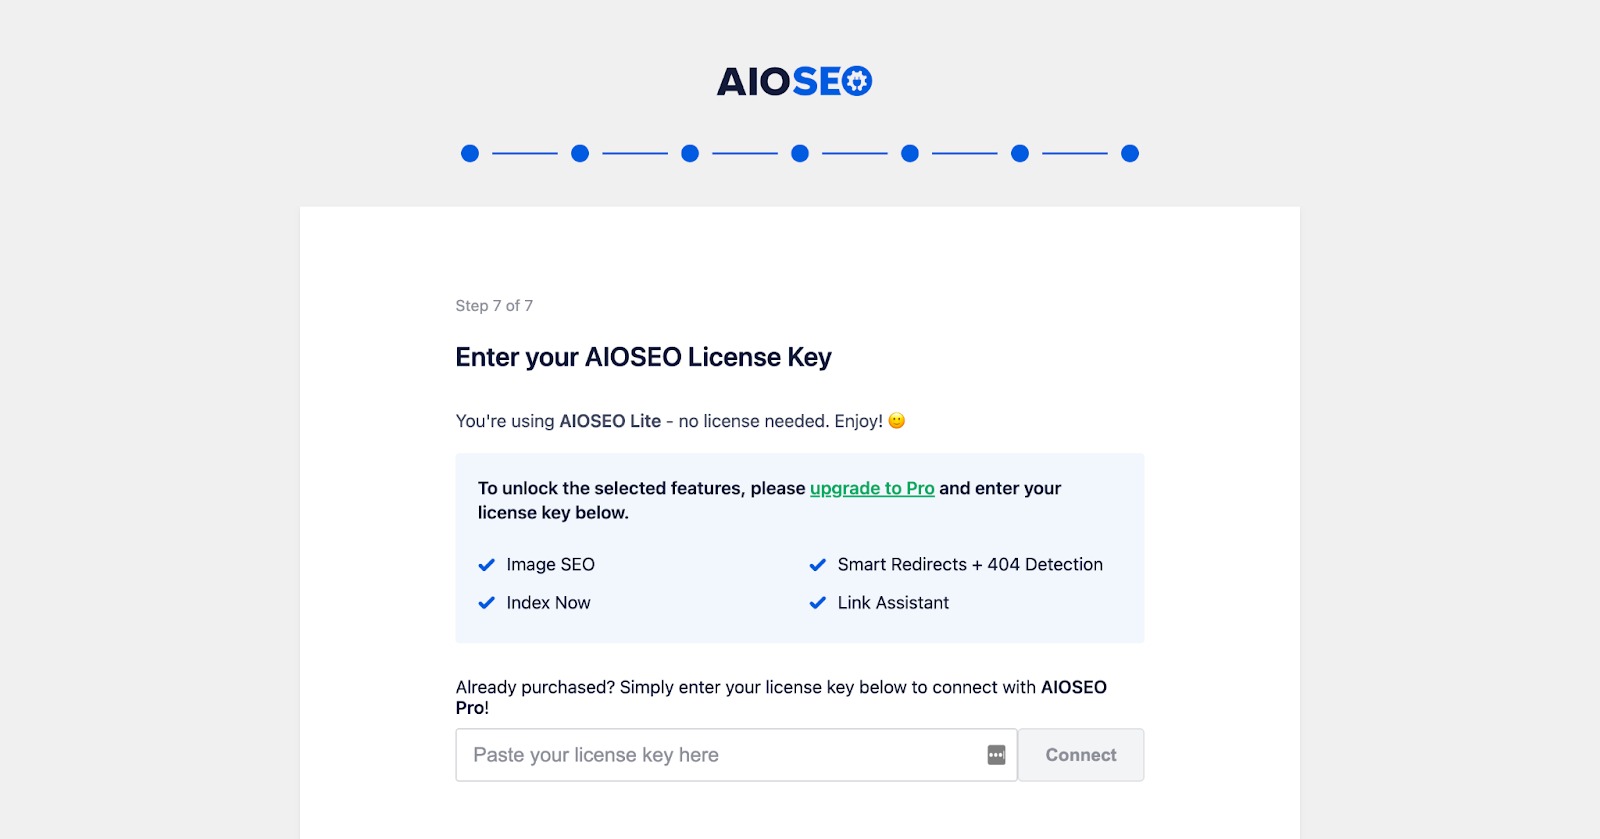
And finally, enter your license key (if you have one). If you don’t have a license key, you can skip this step.
You’ll get a confirmation page confirming you set up AIOSEO, and you can now start implementing SEO.

Scroll to the bottom and click “Finish Setup and Go to Dashboard” to start utilizing the plugin.
Step 3: Finding the AIOSEO Settings
Now that your plugin is installed and set up, navigate to any page or post you want to add SEO to.
After clicking “Edit,” scroll down to the end of your content to find the “AIOSEO Settings.”
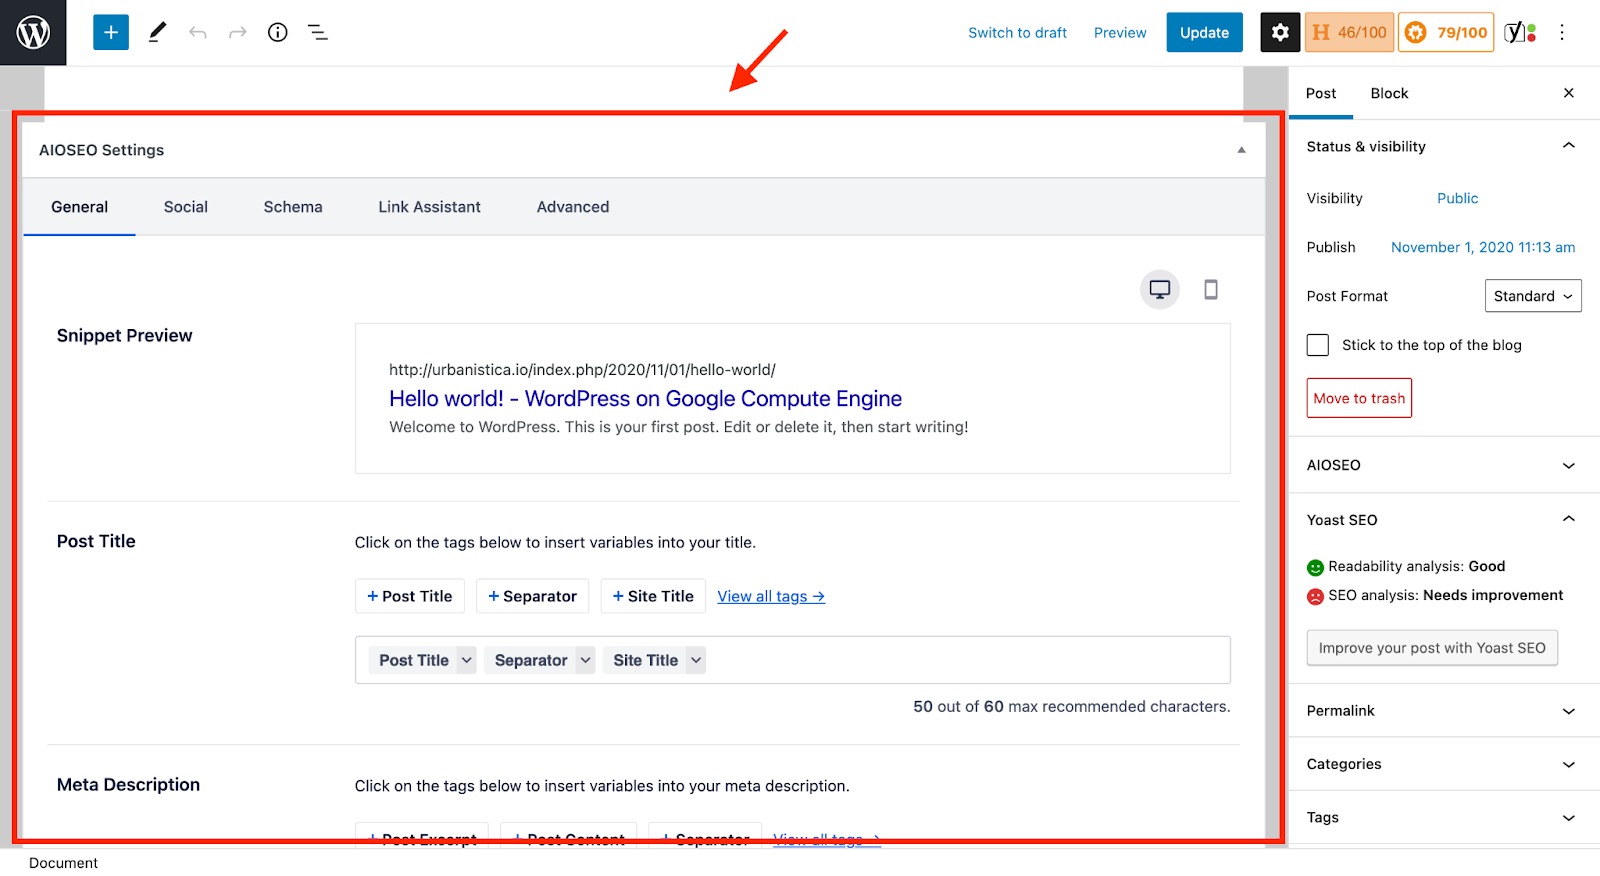
In these settings, you’ll find the following:
- Snippet Preview
- Post Title
- Meta Description
- Focus Keyphrase
- Additional Keyphrase
- Page Analysis
Some areas of the settings, like Focus Keyphrase and Page Analysis, will help guide you toward a well-optimized page, telling you what is good and what needs improvements.
Step 4: Getting Started
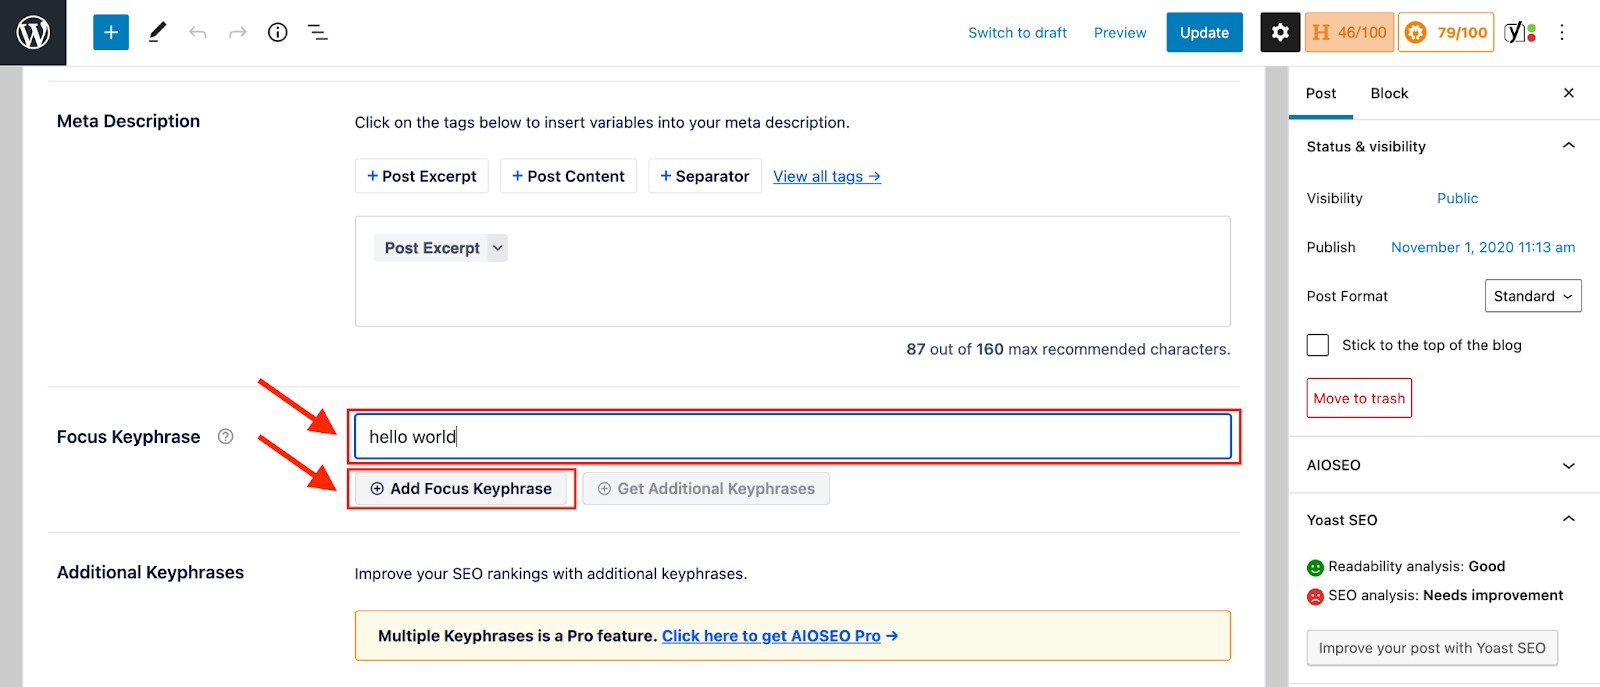
After integrating, start by finding the “Focus Keyphrase” section within the AIOSEO settings.
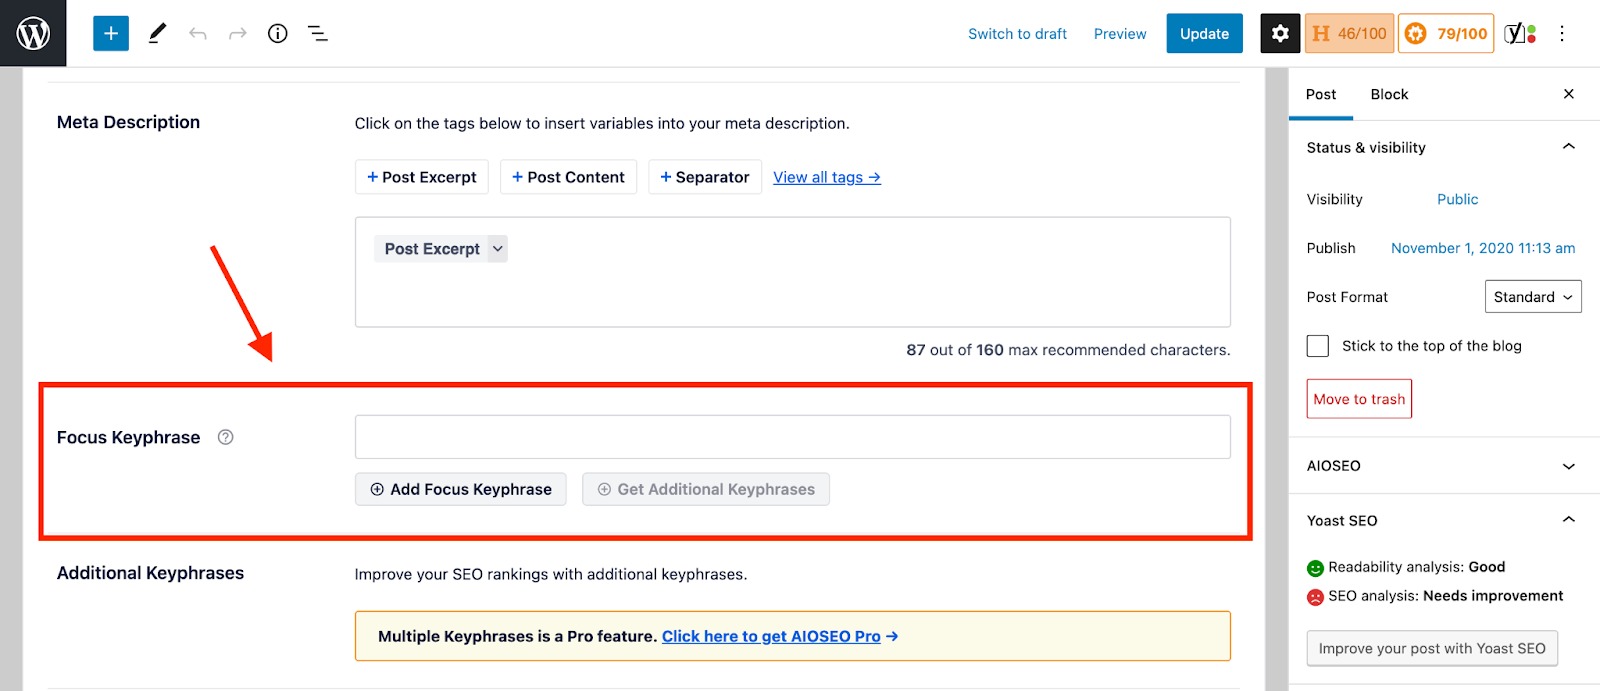
Click on the box and type in your preferred keyphrase for your page. Then, click the “Add Focus Keyphrase” button.
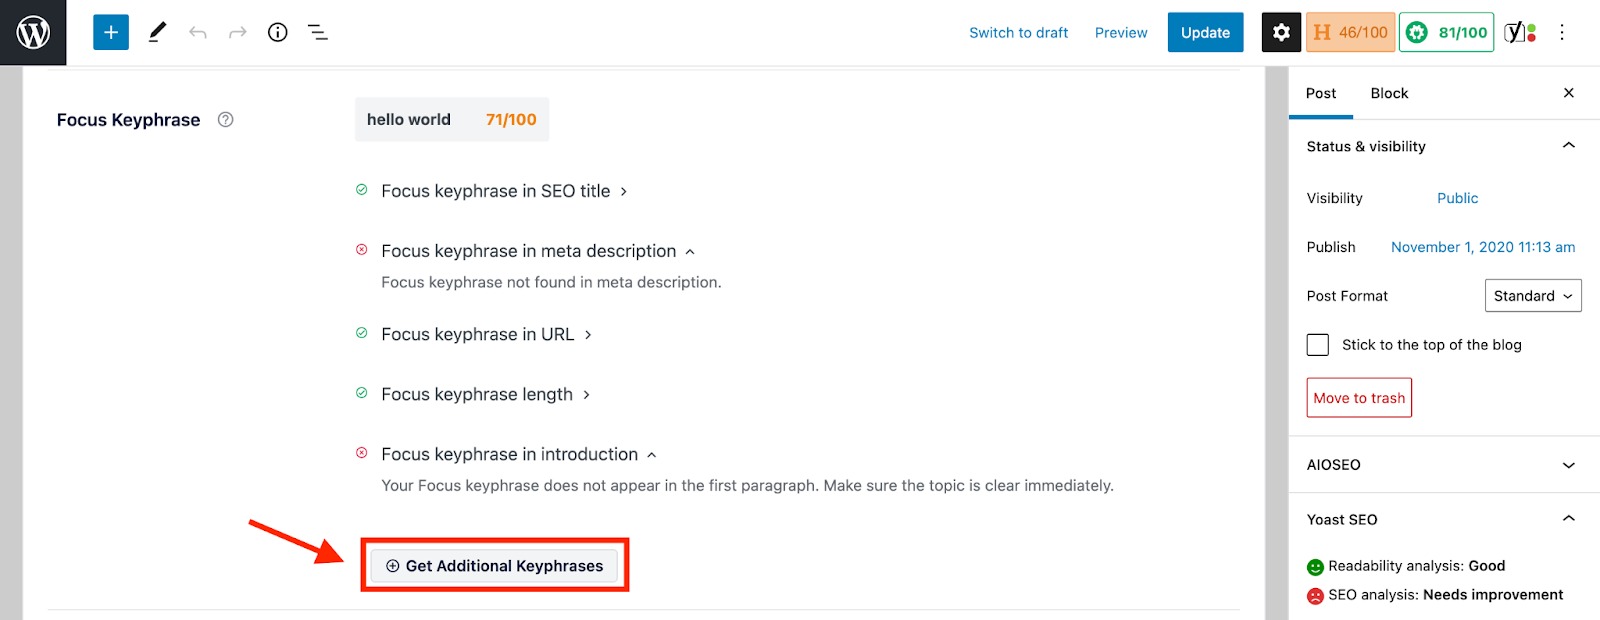
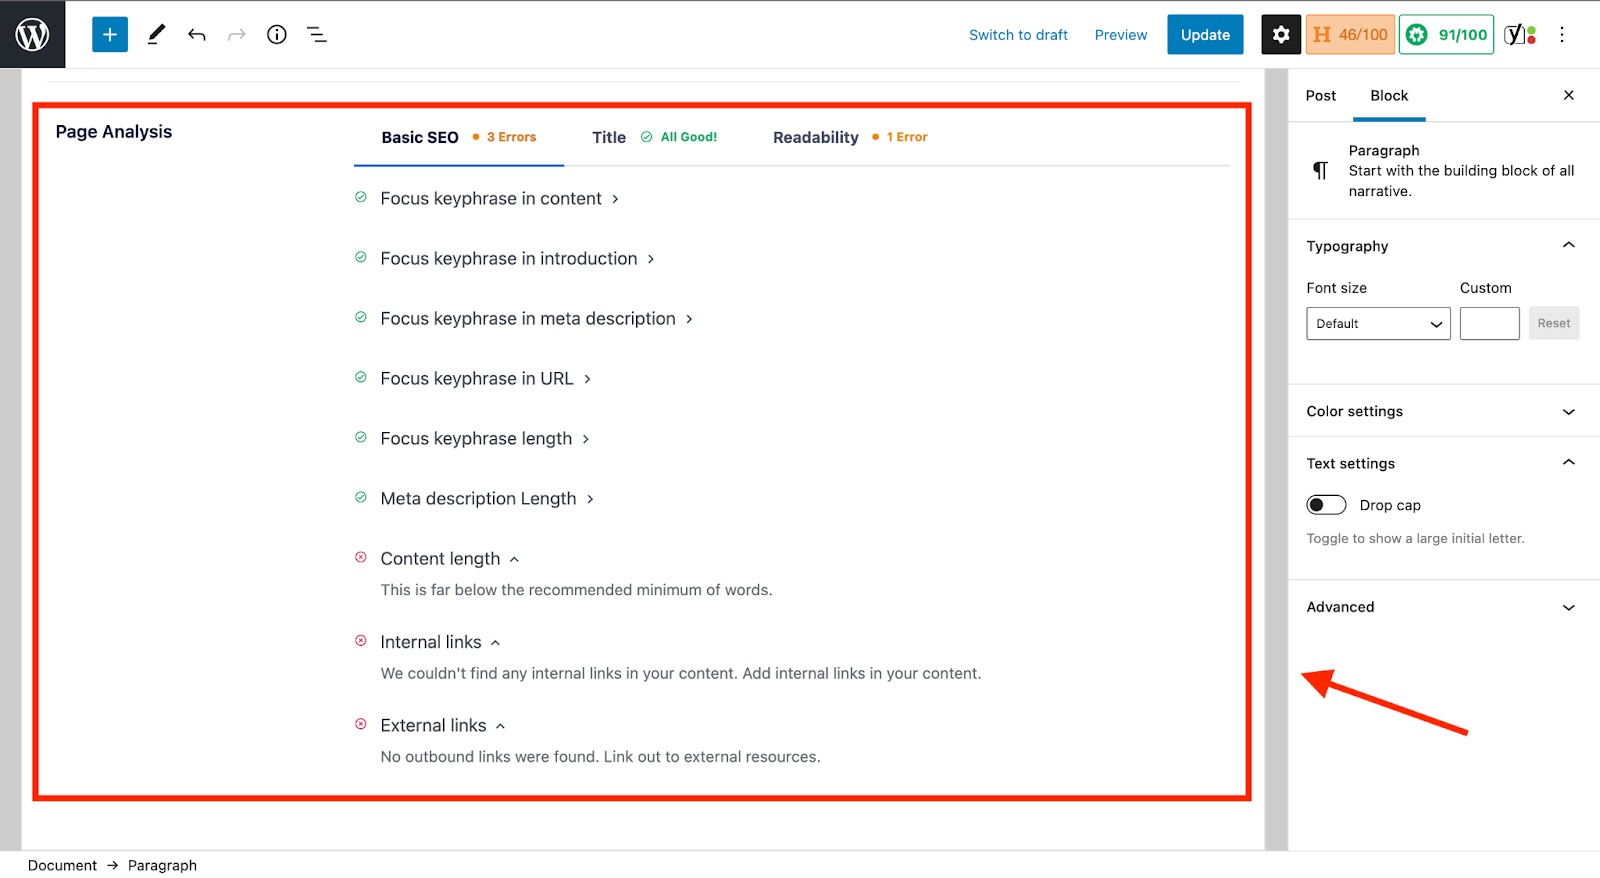
After clicking the button, you will get a quick analysis of your page once you have assigned the keyword.

Here, you’ll see if there are any areas for improvement. Green check marks mean everything looks good. Red indicates there are Focus Keyphrases missing in key areas required for good optimization.
If you click the “Get Additional Keyphrases” button, a prompt will appear showing you a list of other related keywords you might consider using for your page.
Start by finding the “Focus Keyphrase” section within the AIOSEO settings.
Upon adding a Focus Keyphrase, you will be taken to another page to create a new account (if you don’t already have one).
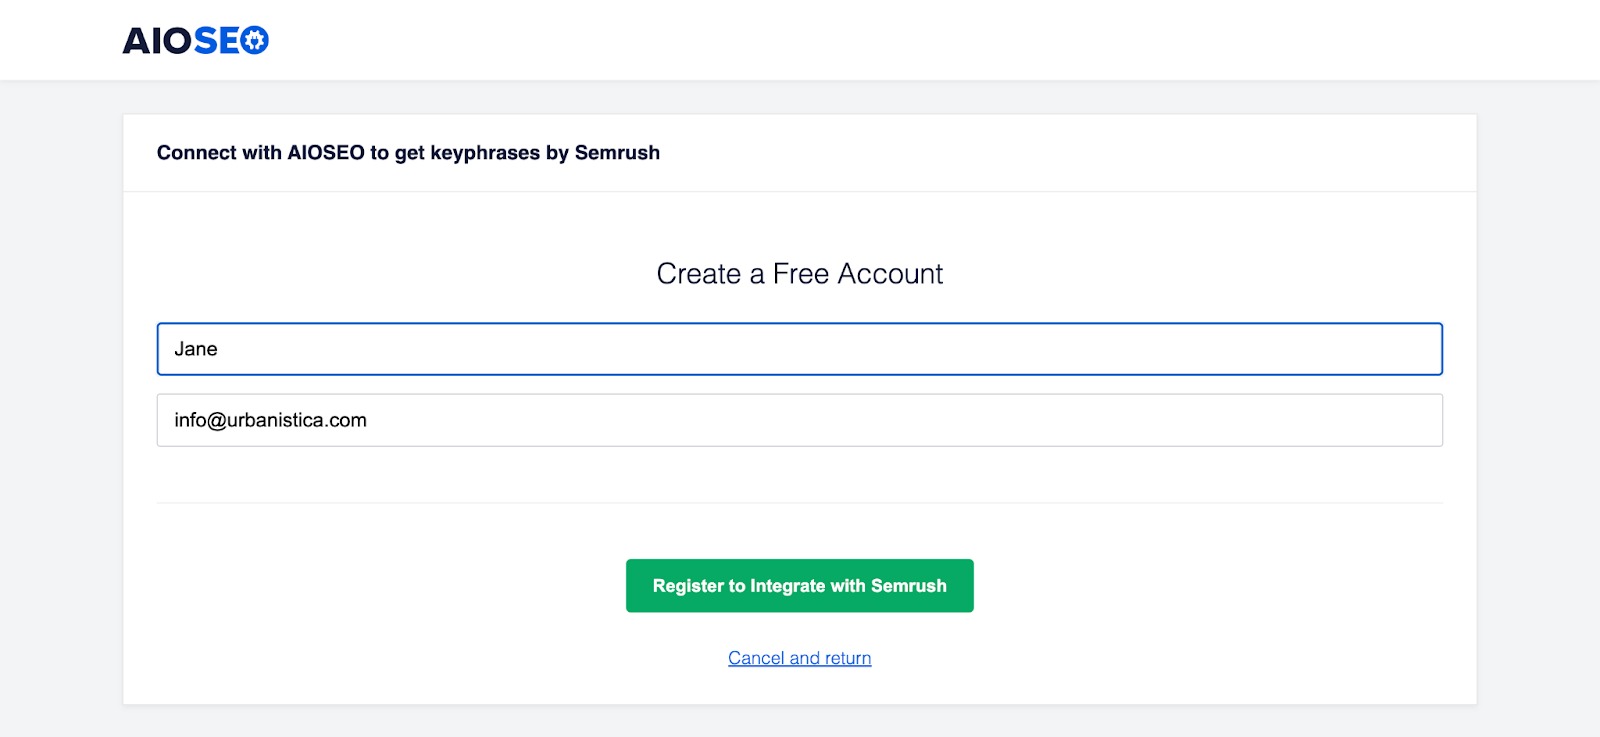
After registering, you’ll be redirected to another page to start the integration process.
Add your Semrush email login information to log in.
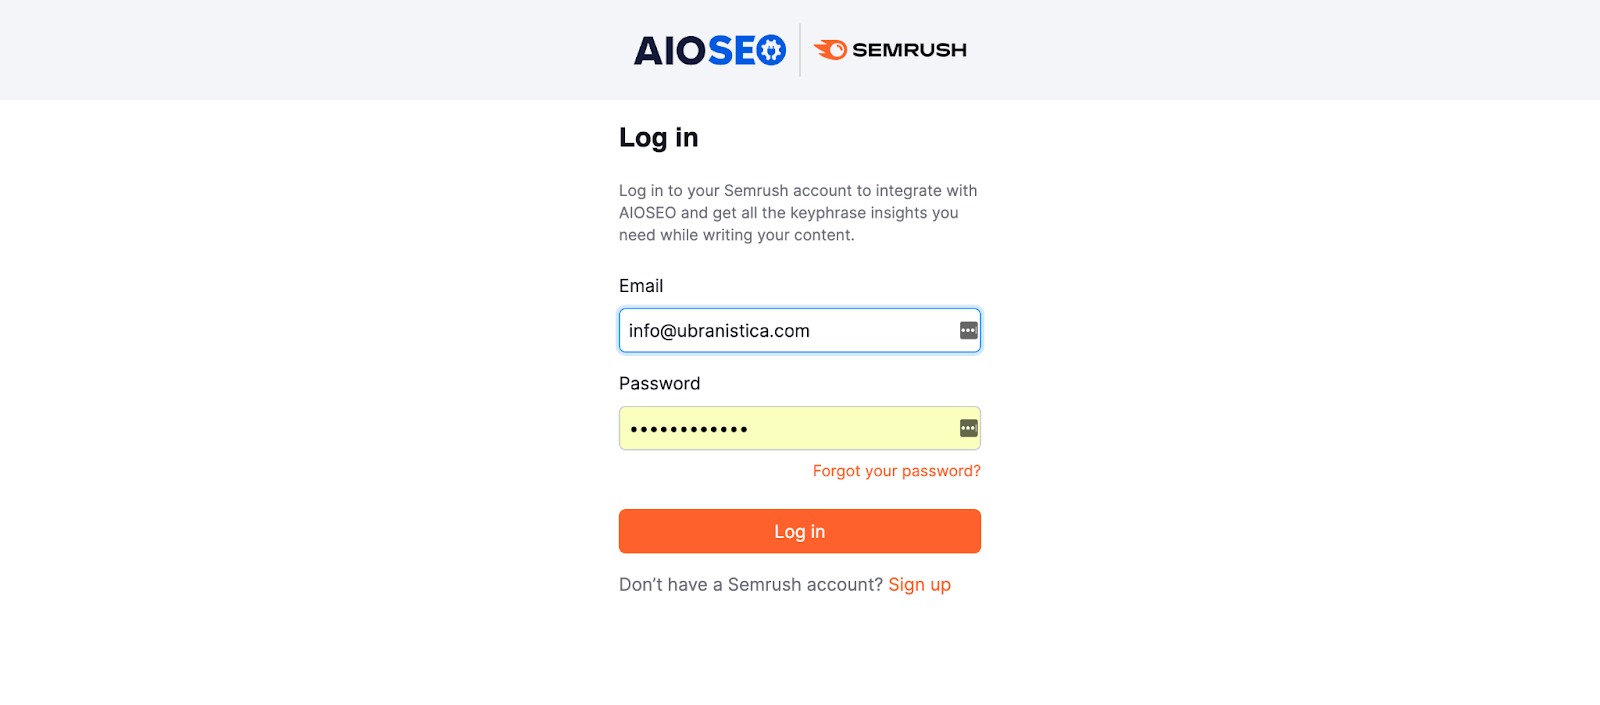
On the next page, AIOSEO will ask for permission to integrate with Semrush. Be sure to click “Approve” to connect.
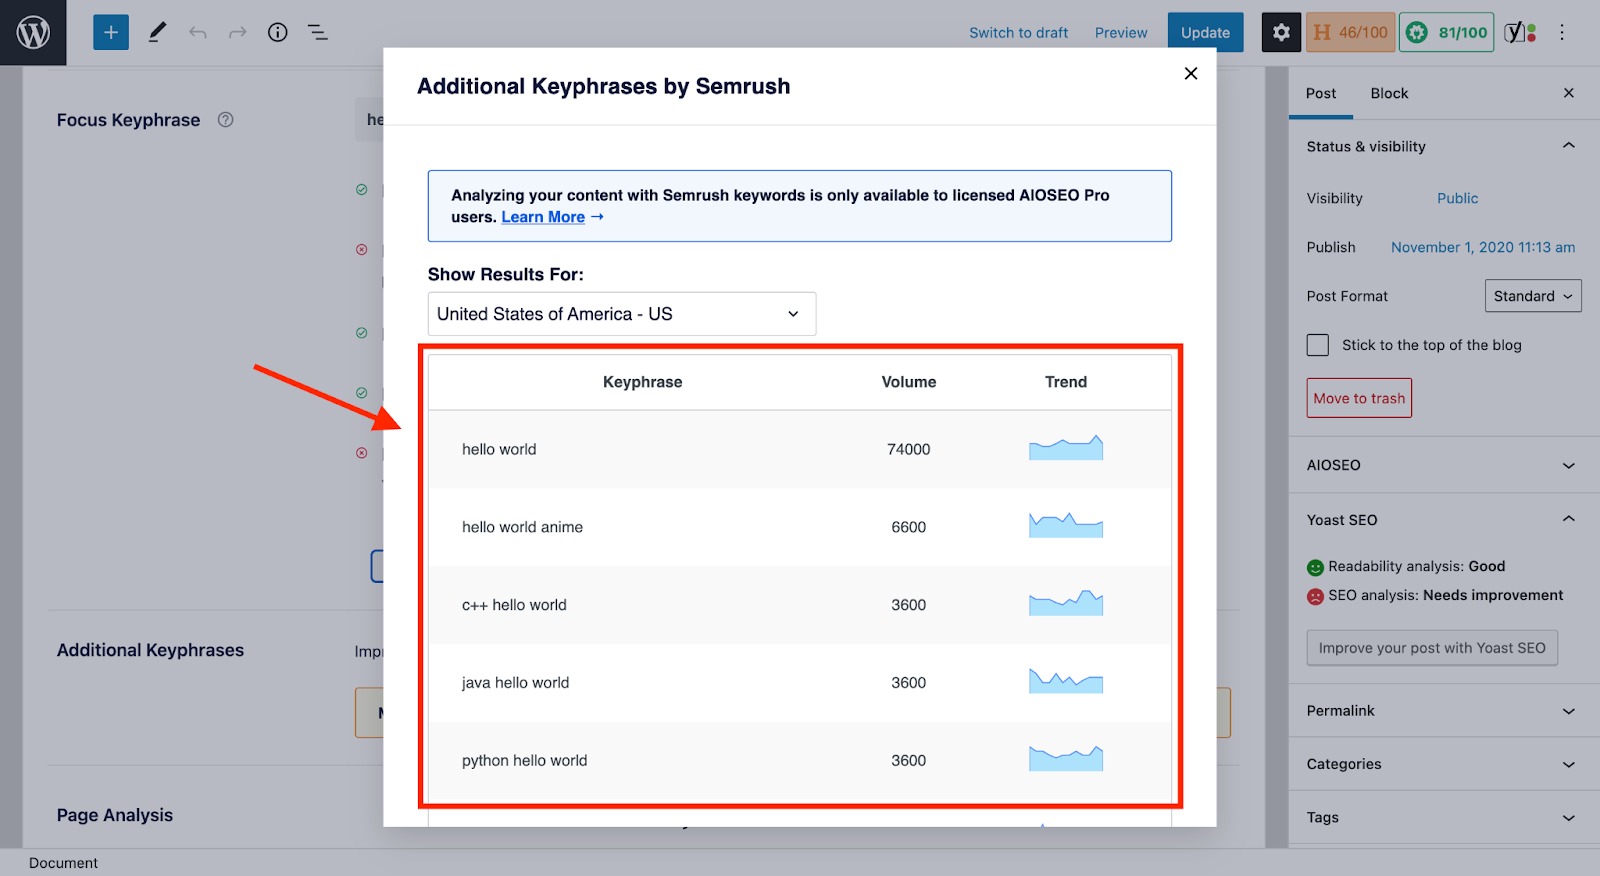
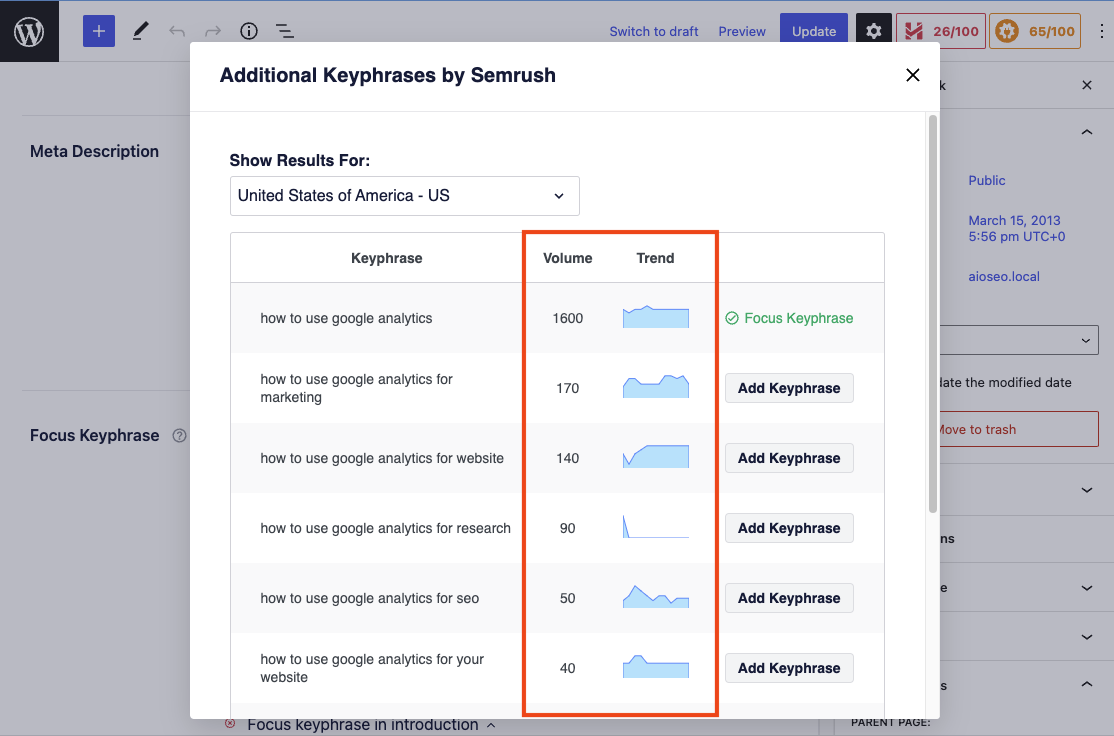
Step 5: Choosing a Focus Keyphrase
After integrating, a prompt will display recommended keyphrases, their volume, and the keyphrase trend.
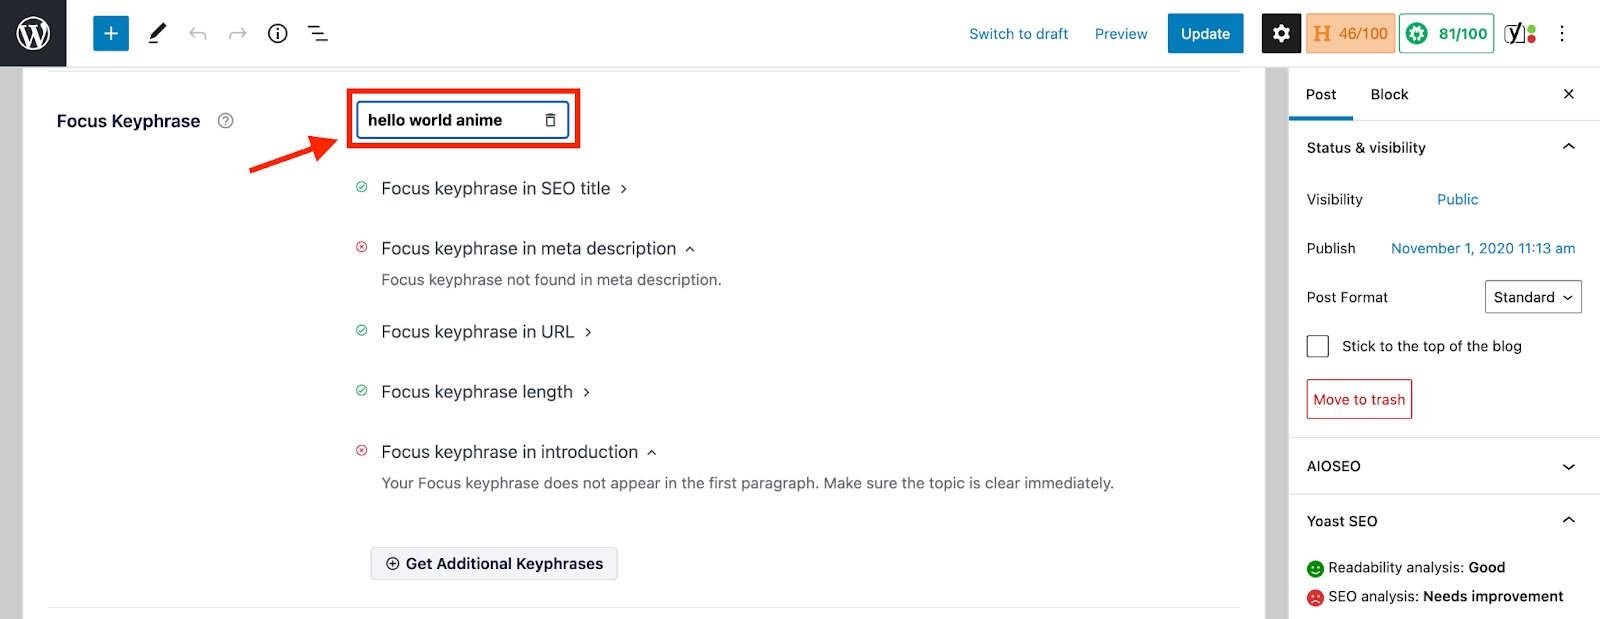
If one of the keyphrases here is more suitable than the existing one, you can close out the box and manually add the keyword.
Be sure to click the pencil icon in the box where your current keyphrase lives to manually change the text.
Step 6: Adding Additional Keyphrases
To add more than one keyphrase to your page, you will need to upgrade your subscription.
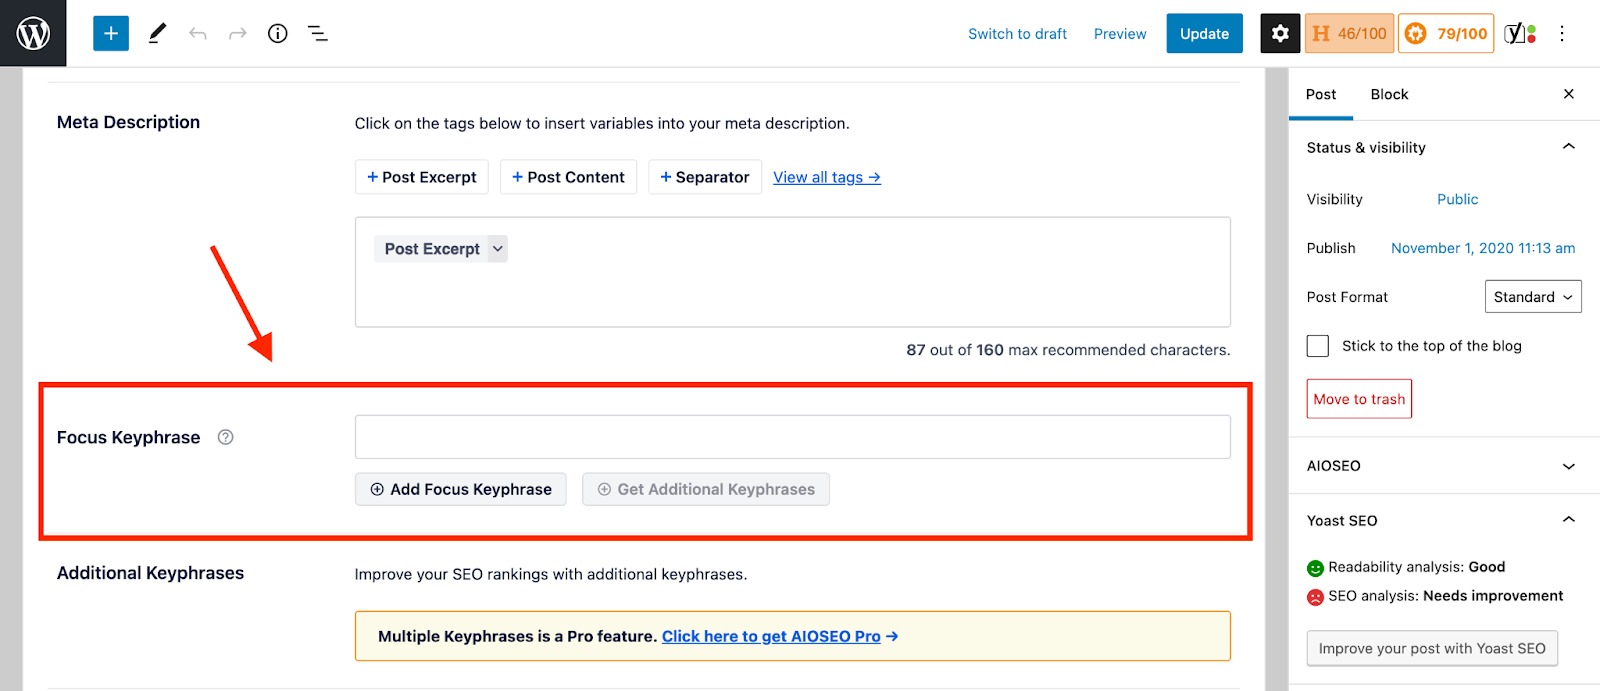
To add other keyphrases, find the “Additional Keyphrases” section in the AIOSEO settings.
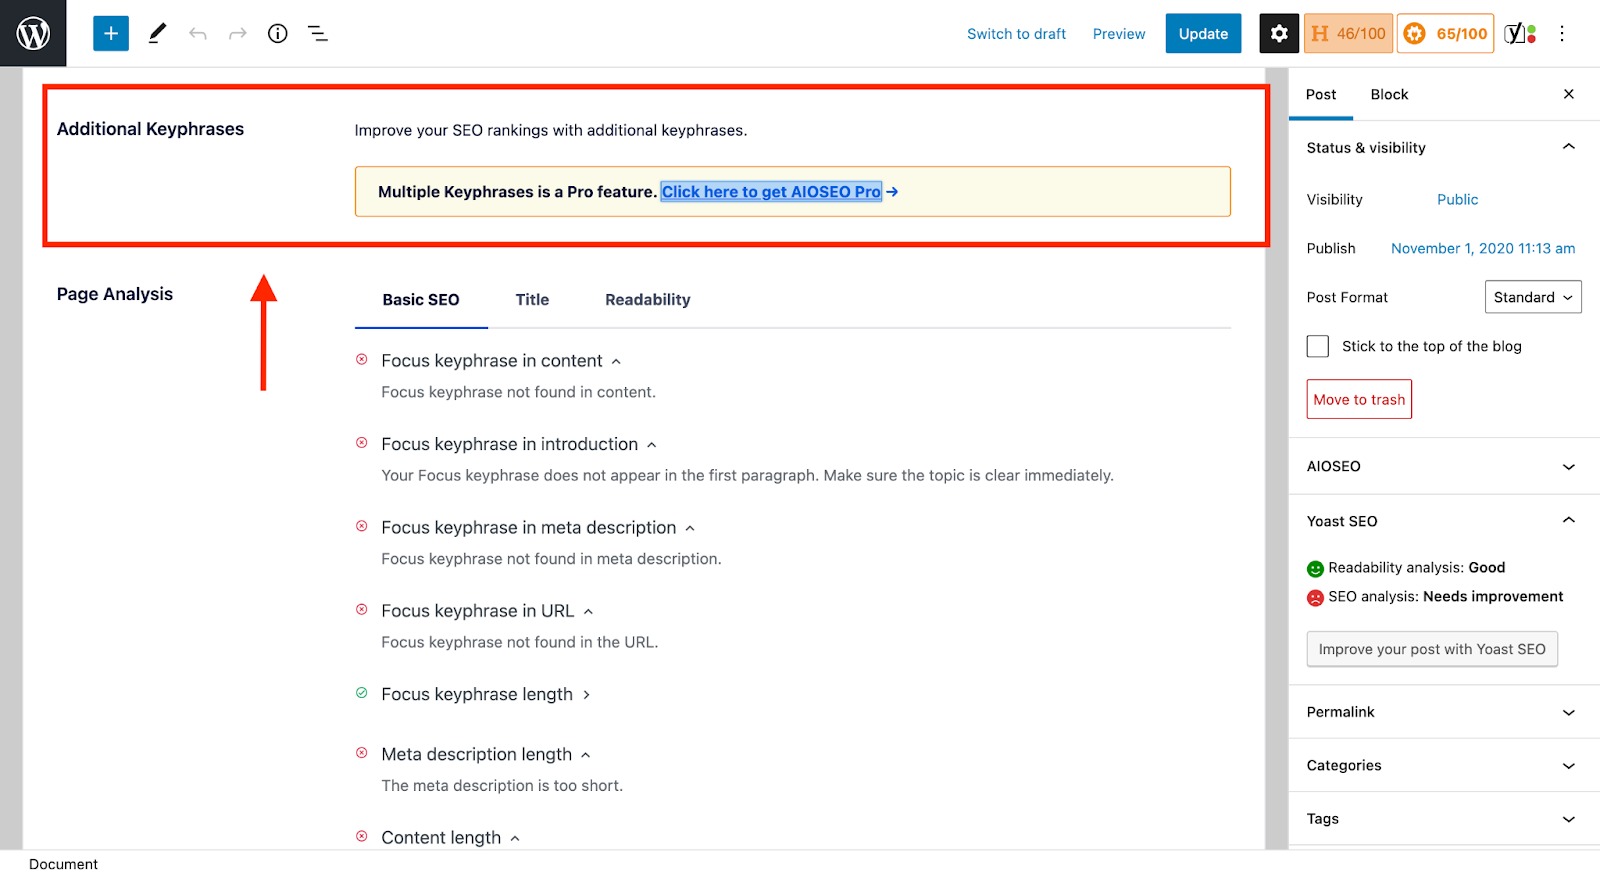
Similar to Step 4, you’ll need to click the “Get Additional Keyphrases” button to open a prompt with new keyphrases.
In this prompt, you’ll see the keyphrase, volume, trend, and a button that allows you to “Add Keyphrase.”
Choose a keyphrase and click the “Add Keyphrase” button to assign the keyphrase to your page.
The number of keyphrases you can add depends on your Semrush subscription.
Step 7: Updating Your Post Title and Meta Description
Now that you have your targeted keyphrase, you can update your Post Title and Meta Description.
You’ll find both your Post Title and Meta Description in the same AIOSEO settings box on the page you’re currently working in.

You can delete the auto-generated Post Title and Meta Description to create your own.
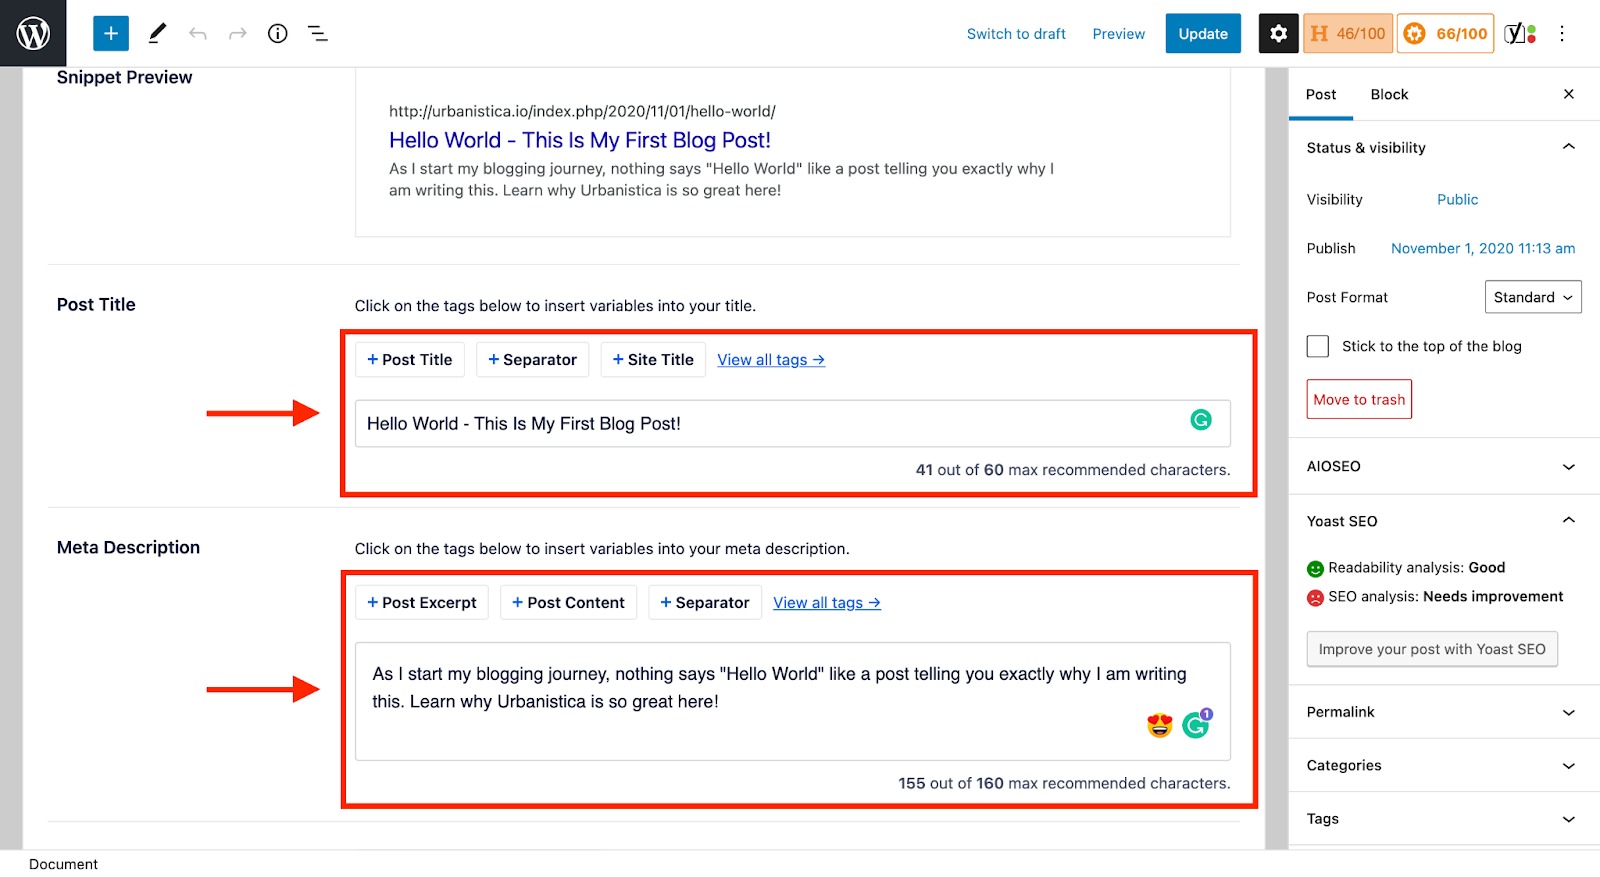
AIOSEO helps you keep an eye on your Post Title and Meta Description length to make sure you’re within the proper character limit.
Be sure to check your AIOSEO Page Analysis to ensure your page is targeting the keyphrase where it should.
Be sure to click “Update” to save your changes, and you have successfully used the AIOSEO-Semrush integration.